Masking
Table of Content
It fits my screen with a inch of overthrow onto the masking.....just right. I am sorry I missed your post in the other thread about doing something like this. A wonderful example of not letting the perfect be the enemy of the good. When/if I can dedicate a room to my projector I plan on doing the same thing. In either configuration the mask is used to create the illusion of a full matted wall.
However, without a totally textureless surface your image won’t look as sharp as it should. With a projector shining on it you’ll see every bump and imperfection. At this point, the motor has entered into its limit programming mode. Even though you have removed power, it will remember that it is in programming mode.
Deadline Entry Extended for the Residential Systems Picks Awards At CES 2023
As annoyed as I am when they leave the 3D lens over a 2D movie, that at least can be chalked up to laziness or cheapness. But now they're spending money to actively worsen the theater-going experience for their customers. Pretty much all the newer cinemas in Toronto have no masking of any kind. Even worse, they're all 1.85, so 'scope films are always smaller and letterboxed.
Motor control cards/ boxes and IR, 12V, and RS-232 control accessories and installation are extra. After completing my AT screen installation a while back I briefly entertained the thought of adding a masking solution of some sort for the frequent occasions I want to view widescreen content on my 16x9 screen. At that time, after some initial frustrations, I decided to abandon the idea and just live with the typical letterboxing we all know and love. As is often the case with me, however, I really just needed a break. You might think that any seemingly smooth surface would work as a projection display.
Projector Screen surface
You'll see the motor move in very short steps that are a small fraction of a full rotation. Alternate between UP and STOP modes until your motor is at the exact UPPER limit you desire. You need to set the travel limits on the motors, so that the curtains open and close to the proper locations. Use the 1 channel wall controller and the power supply to set the limits on each motor before permanently wiring anything. Run 18AWG thermostat wire from your screen location to an area where you can store the electronics. This won't take much room, but you will need an outlet for the 12v power supply.
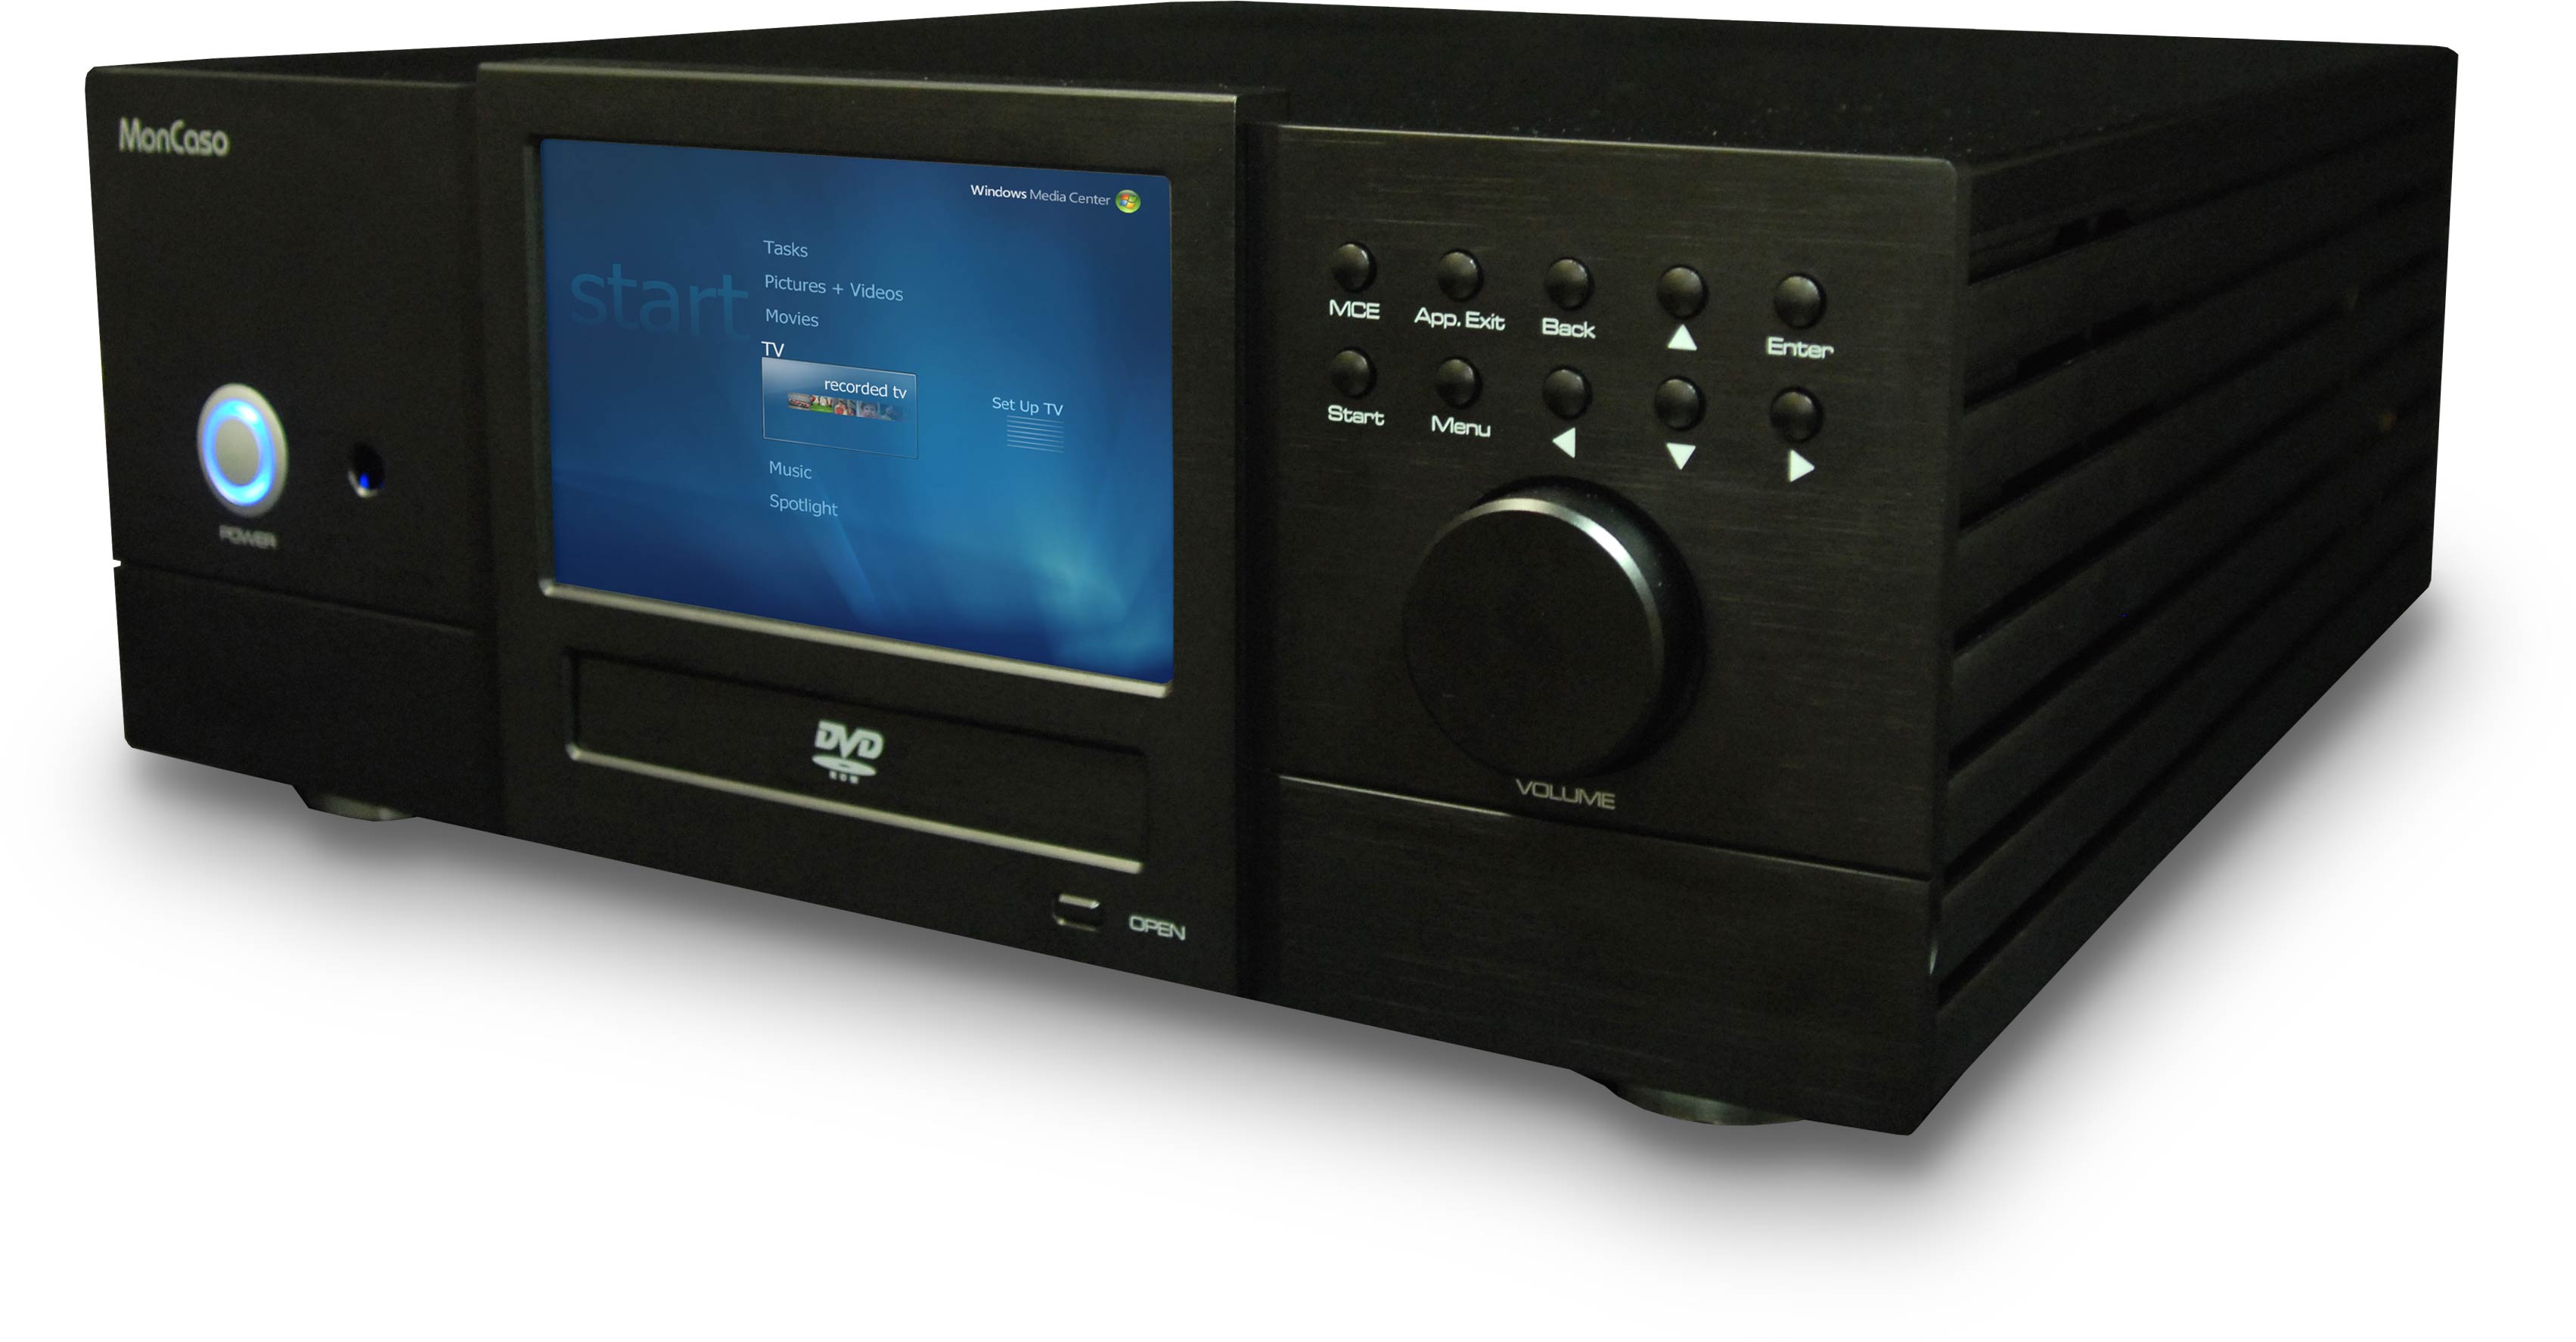
There’s a certain charm to doing all of that setup stuff ahead of time manually, or maybe I’m just nuts. I remember my first projector and screen from back in like 2006, and the 16x9 screen would auto lock at different spots so that I could only open it to 2.40 etc if I wanted and then just adjust the lens on the PJ. It reminds me of working at a very not state of the art movie theater when I was 14. I feel a certain satisfaction setting up the stuff by hand and it gets me in the mood for watching a film. The Kaleidescape System is claimed to be the first video source product to provide a solution for automating this process.
Podcast - HTF Podcast Episode 6: Aspect Ratios
In Melbourne, AU, I would guess that masking is gone in most cinemas. Even worse, I believe that there are only two cinemas left that run real film. When I saw Conjuring 3 I had to go out to the lobby to get someone to open up the masking, as it was a scope film and the screen was set up for 1.85. I'm not sure how long it had been that way; if people had just watched the film bleeding over on both sides like that in previous shows. I briefly considered just watching it that way, but decided it would bug me too much. Turns out it was just a pull cord on one side of the screen that I could have fixed myself.

For most people when they think about projection screens they picture a white surface. However for setups you’ll want to get a grey, silver or even a black home cinema screen. A black or grey projection surface provides your image better black levels than a plain white display.
With improvements to uniformity and off-axis viewing, FireHawk G4 is even closer to the reference quality and image fidelity that have long been synonymous with Stewart Filmscreen. Since I use an LCD projector the "black" bars above and below a widescreen image are really dark grey. Using the black masking and side bias lights improves the apparent contrast ratio of the picture. The plates are cut based on a test loop (RP-40) and the masking is adjusted according to those specs.
Lens memory is a very nice feature but be warned, it is not completely accurate. I have the basic features of my projector programmed into my tablet-based remote but find myself routinely grabbing my Epson physical remote to make micro adjustments after having used memorized lens positions. It's not a big deal but just something you should be aware of going in. I really wanted a motorized solution but it would have meant lowering the image to the bottom border. This resulted in a somewhat obstructed view for my rear row, which is why I went this route instead. It’s possible the matte adjustments required someone to push a button and it was easier to eliminate them rather than find a way to automate them with the computer.
They have two very large auditoriums, and in my experience they are always masked correctly. However, the smaller auditoriums are not and are like watching on television. It really bothers me, so I always check which auditorium before I buy a ticket. Has anyone noticed that in recent years, some theater chains have more and more been forgoing screen masking in some or all of their auditoriums?

The curtain kit should also come with instructions, but below is how I connected mine. Attach the lead curtain hook from each headrail half to a different side of the string. This allows the curtains on each side to open and close at the same time.
The Stewart StudioTek 130 is the best projector screen surface in the business. It offers a textureless display surface allowing not just good enough for 4K, not just good enough for 8K but smooth enough for 16K resolution. So not only do you get a perfectly flat surface for your 4K projector, but you futureproof your investment when 16k resolution projectors become the norm. Screens designed to reject ambient light can be effective at furnishing an image in even the brightest of rooms, but the trade-off is the presence of unwanted artifacts such as color-shift, hot-spotting, and poor off-axis viewing. Stewart Filmscreen is in the business of image fidelity, and FireHawk was designed to provide the best possible trade-off between image fidelity and ambient light resistance.

Alternate between DOWN and STOP modes until your motor is at the exact LOWER limit you desire. Make sure it is stopped, with no power applied when you reach the desired LOWER limit. At this point you have stopped the motor, ready to enter JOG mode. Press the DOWN button and you will see it move slightly; you are now in JOG mode. Activate the motor in either direction with the UP or DOWN button of a switch or controller; we'll assume for these instructions that you will start with the UP button. The wiring is exactly the same as it was for the automated roller shade project that I documented.
Masking Changes the Shape of Your Home Theater Screen
If a competitor’s website has the same product but is not restricting the display/functionality in the same way that you see here on ProjectorScreen.com, than that competitor is likely NOT an authorized dealer. The viewing angle is the angle the screen traverses in the viewer’s front vision from the far left of the screen to the far right. Mount the headrail to the ceiling in front of your screen as shown below. Be sure to leave enough room so that the curtain doesn't hit the screen frame. The two headrails should come together at the center of the screen so that the curtains are equidistant from each end of the screen and meet in the middle. Very heavy, supported by hooks so it can be canted to adjust for keystoning and be removed for re-painting.


Comments
Post a Comment